
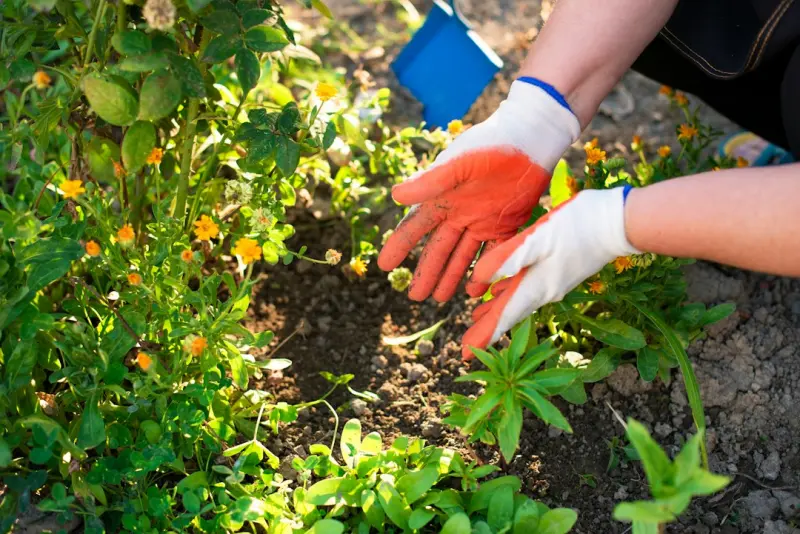
When I first squeezed a tomato seed into the cracked concrete of my balcony, I thought I was just being optimistic. Little did I know that the real magic was happening beneath my feet, whispering clues about moisture, nutrition, and life. Today, I’m sharing the habit that transformed a modest balcony into a bustling micro‑farm: learning to listen to the soil.
Why Soil Talk Matters More Than You Think
Most gardeners treat soil as a static medium – a mix you buy, spread, and forget. In reality, soil is a living organism, a bustling metropolis of microbes, fungi, minerals, and air pockets. Each of these players sends signals, whether it’s a sudden sour smell indicating anaerobic conditions or a subtle crust forming on the surface that betrays over‑watering.
Understanding these cues can mean the difference between a wilted mess and a thriving oasis. It also lets you fine‑tune your care routine without relying on expensive sensor kits or endless trial‑and‑error cycles.
Step 1: Feel the Texture – The First Conversation
Before you ever add a seed, run your fingers through the medium. Is it gritty like sand, or does it feel crumbly and moist? A good rule of thumb for container gardens is a texture that clings slightly to your fingers but releases without crumbling into dust. If it feels too compact, you’re likely to choke roots; if it’s too loose, water will escape too quickly.
To adjust, blend equal parts of high‑quality potting mix, coconut coir, and perlite. The coir retains water gently, while perlite creates air channels. This blend mimics the natural soil structure of a forest floor, encouraging beneficial mycorrhizal fungi to partner with your plant roots.
Step 2: The Moisture Whisper – Reading Water Levels Without Gadgets
While digital hygrometers are handy, your fingertips can be just as precise. Stick your thumb about an inch into the soil. If it feels dry, the plant is likely thirsty. If it feels cool and slightly damp, you’re in the sweet spot. A soggy, heavy feeling signals waterlogged conditions, which can suffocate roots and invite rot.
Another trick is the “lift‑the‑pot” test. Pick up your container; if it feels unusually heavy, you probably have excess water. Light containers generally indicate the soil is drying out, prompting a gentle watering.
Step 3: Smell the Air – Detecting Imbalance Early
Our noses are surprisingly adept at catching chemical changes. A sour, fermented odor often points to anaerobic activity – meaning the soil isn’t getting enough oxygen. This can happen when you over‑water or use a soil that’s too dense.
If you catch this scent, immediately improve drainage: add more perlite or repot into a container with extra holes. Also, consider aerating the soil gently with a small garden fork, creating pockets for oxygen to circulate.
Step 4: Observe the Color Palette – What Your Plants Are Telling You
Leaves are the most visible barometer of soil health. Yellowing tips usually indicate a nitrogen deficiency, while dark green, glossy foliage suggests adequate nutrients. However, a sudden bronze or purpling of leaves can be a sign of phosphorus shortage or stress from extreme temperature fluctuations.
When you notice these color shifts, adjust your feeding schedule. A balanced organic fertilizer, such as a seaweed‑based liquid, can supply micro‑nutrients without overwhelming the soil ecosystem.
Step 5: Leverage Community Wisdom – Turn Your Balcony Into a Learning Hub
One of the most rewarding aspects of urban gardening is the exchange of knowledge. I started a small group of balcony growers on a local forum, where we share observations, successes, and setbacks. This community became a living database of soil anecdotes, from “the day the basil turned bitter” to “how a dash of crushed eggshells revived my pepper plants.”
If you’re looking for inspiration on building a supportive community, check out the article on cultivating collaborative spaces. It offers practical steps for turning a simple discussion thread into a thriving hub of shared expertise.
Step 6: Experiment with Native Micro‑Allies
Many balcony gardeners overlook the power of beneficial microbes. Inoculating your soil with mycorrhizal fungi or compost tea can dramatically improve nutrient uptake and disease resistance. My favorite starter is a low‑dose commercial mycorrhizal powder mixed into the top inch of soil during planting.
Another low‑cost method is to brew a weak tea from kitchen compost scraps – let it steep for 24 hours, strain, and water your plants with it. This introduces a diverse community of microorganisms that help break down organic matter, making nutrients more accessible.
Step 7: Seasonal Shifts – Adjusting the Soil Narrative Over Time
As the seasons change, so does the soil’s story. In cooler months, microbial activity slows, and water evaporates less quickly. Reduce watering frequency and consider adding a thin layer of mulch (e.g., shredded bark) to retain modest warmth and protect roots.
During hot spells, increase airflow by spacing plants a bit farther apart and ensure your containers have adequate shade during the peak sun hours. A simple moveable shade cloth can keep soil temperatures from spiking, preserving root health.
Step 8: Harvest with Gratitude – Closing the Communication Loop
Harvesting is not just a mechanical act; it’s a dialogue. When you gently pull a ripe fruit or cut a leafy stem, you’re acknowledging the plant’s effort and the soil’s support. Take a moment to observe the root system as you harvest – healthy, white roots indicate a thriving underground network, while brown, mushy roots suggest you may need to revisit your soil practices.
Document these observations in a garden journal. Over time, you’ll see patterns emerge, allowing you to predict the best times for planting, watering, and feeding.
Putting It All Together: A Sample 30‑Day Soil Care Plan
- Day 1‑3: Prepare a blend of potting mix, coconut coir, and perlite. Plant seeds or seedlings, lightly press soil, and water just enough to settle the medium.
- Day 4‑7: Perform the fingertip moisture test daily. Adjust watering based on feel, not schedule.
- Day 8‑14: Introduce mycorrhizal inoculant and start a weekly light feeding with seaweed fertilizer.
- Day 15‑21: Check for odor or heavy weight. Aerate if needed and add perlite to improve drainage.
- Day 22‑30: Observe leaf color and adjust nutrient regime. Document any changes in a journal and share insights with your balcony gardening community.
Beyond the Balcony: Scaling Soil Communication to Larger Urban Gardens
If your balcony garden proves successful, you might wonder how to replicate this soil dialogue on a rooftop or community plot. The principles remain identical – texture, moisture, scent, color, and microbial allies. The main difference lies in scale. Larger beds benefit from deeper mulching layers and occasional soil turning to maintain aeration.
For those interested in the broader impact of green spaces on city resilience, the piece on urban sustainability initiatives offers a perspective on how thriving soil ecosystems contribute to cooler micro‑climates and healthier neighborhoods.
Final Thoughts – Embrace the Conversation
Gardening isn’t a one‑way instruction manual; it’s a conversation that evolves with every seed you sow. By learning to read the subtle language of soil, you empower yourself to make informed decisions, reduce waste, and harvest more abundant, flavorful produce. Your balcony becomes not just a decorative space, but a living classroom where each plant teaches you something new about resilience, patience, and the quiet power of the earth beneath your feet.

Sanji Patel is a Staff Writer at Blogging Fusion and a globally recognized SEO consultant with 25 years of industry experience. He specializes in delivering comprehensive technical and editorial SEO services to news publishers worldwide. Sanji frequently shares his insights as a speaker at international conferences and delivers annual guest lectures at local universities.
Professional Profile
- Current Role: Staff Writer at Blogging Fusion.
- Core Expertise: Technical and editorial SEO strategy.
- Target Audience: Global news publishers and digital media outlets.
- Industry Experience: 25 years of dedicated SEO consultancy.
- Public Engagement: International conference speaker and university guest lecturer.
Related Posts
Growing More Than Just Plants: How Gardening Taught Me About Sustainable Living and Digital Strategy
Explore the intersection of gardening and digital strategy. Learn how sustainable living, community ... Read More
The Ultimate Guide to Starting Your Own Garden
There’s a profound satisfaction that comes from plucking a sun-ripened tomato from your own vine, ... Read More
Cultivating a Mindful Garden: From Soil Secrets to Community Harvests
Discover a fresh approach to gardening that blends soil science, inclusive design, and community eng... Read More
Top Posts

The New Google Maps with Gemini and AI Assistant Features Redefine Spatial Intelligence
Google Maps has long been the digital compass guiding millions through the complexities of modern life. From finding the fastest route to optimizing travel itin...Read More

The DIY Digital Playground: Empowering Teens to Build Skills While They Play
Learn how to transform everyday play into a powerful digital portfolio for teens, using smartphone sensors, modular web design, and micro‑wins to build realâ€...Read More

Smart Home Hacks for 2026: Practical Tips to Upgrade Your Space
A fresh look at 2026 home upgrades—smart storage, AI lighting, eco cleaning, and kid‑friendly tech—to transform your space with sustainable, tech‑savvy ...Read More

What Companies Need Predictive Maintenance Software?
In a world increasingly driven by data and the relentless pursuit of efficiency, the traditional approaches to asset maintenance—reactive (fix-it-when-it-brea...Read More
0 Comments
Post Comment
You will need to Login or Register to comment on this post!